
Acrylic makeup organizers are a stylish and practical addition to any vanity, keeping your cosmetics neat and easily accessible. However, to maintain their sleek appearance and longevity, proper cleaning is essential.
Acrylic is a durable material, but it requires gentle care to avoid scratches and damage. In this comprehensive guide, we’ll walk you through everything you need to know about cleaning and maintaining your acrylic makeup organizer, ensuring it stays looking brand new for years to come.
Cleaning Basic Knowledge
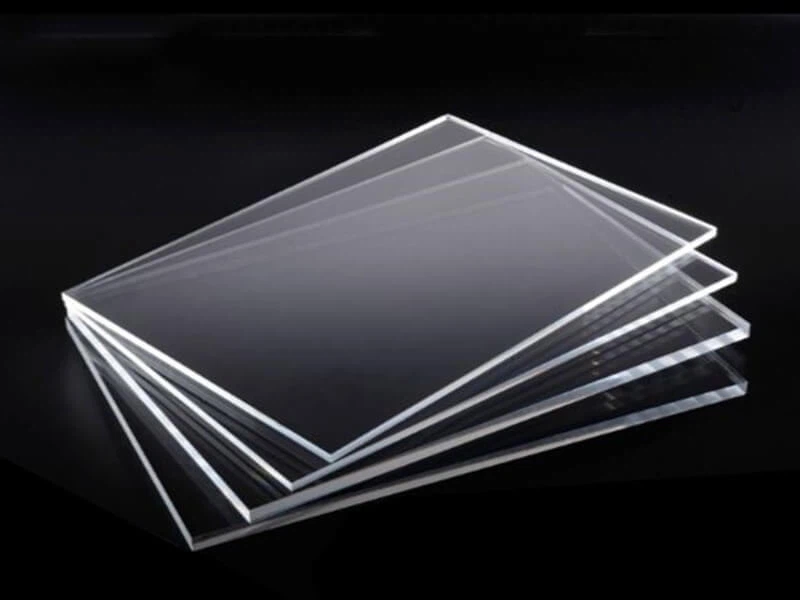
Before diving into the cleaning process, it’s important to understand the properties of acrylic. Acrylic, also known as Plexiglass, is a transparent thermoplastic that’s prone to scratches, especially from abrasive materials. Unlike glass, it can be damaged by harsh chemicals like ammonia, alcohol, and bleach, which can cause clouding or discoloration.
Key Facts About Acrylic Care:
• It’s sensitive to high temperatures, so avoid hot water.
• Micro-abrasions can occur from rough clothes or vigorous scrubbing.
• Static electricity can attract dust, making regular dusting necessary.
Recommended Cleaning Methods
General Cleaning Approach
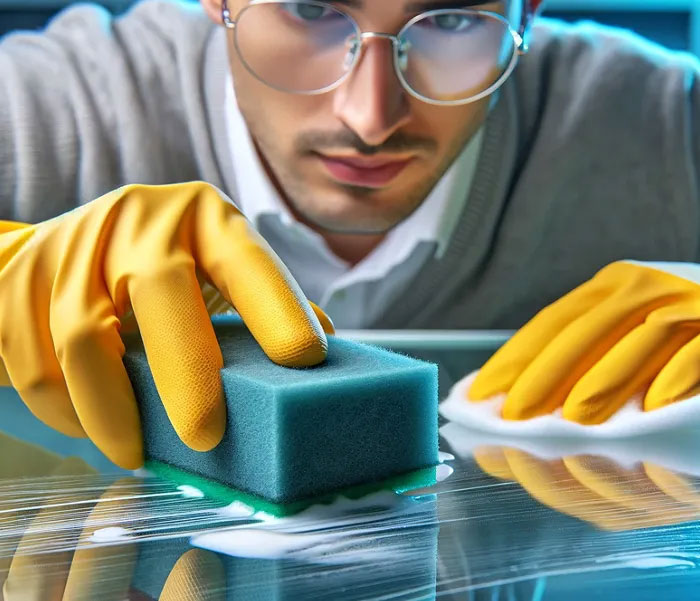
For routine cleaning, begin with the mildest solution: warm water blended with a few drops of gentle dish soap. This simple mixture works effectively to lift away dirt, oil, and makeup residues.
Notably, it cleans thoroughly without causing damage to acrylic surfaces, which are sensitive to harsh chemicals. The soap’s surfactants break down grime, while warm water enhances the cleaning action, ensuring a gentle yet efficient process.
This method is ideal for daily upkeep, preserving the acrylic’s clarity and integrity without unnecessary wear or harm.
Specialty Cleaning Products
If you need a stronger cleaner to clean the acrylic makeup organizer, opt for acrylic-specific cleaners available at hardware or home goods stores. These products are formulated to clean without causing damage. Avoid all-purpose cleaners that contain harsh chemicals.
| Cleaning Product | Suitable for Acrylic? | Notes |
| Gentle dish soap + water | Yes | Ideal for daily cleaning |
| Acrylic-specific cleaner | Yes | Removes tough stains safely |
| Ammonia-based cleaners | No | Causes clouding and discoloration |
| Alcohol wipes | No | Can dry out and crack acrylic |
Special Focus Areas
Pay Attention to Detail
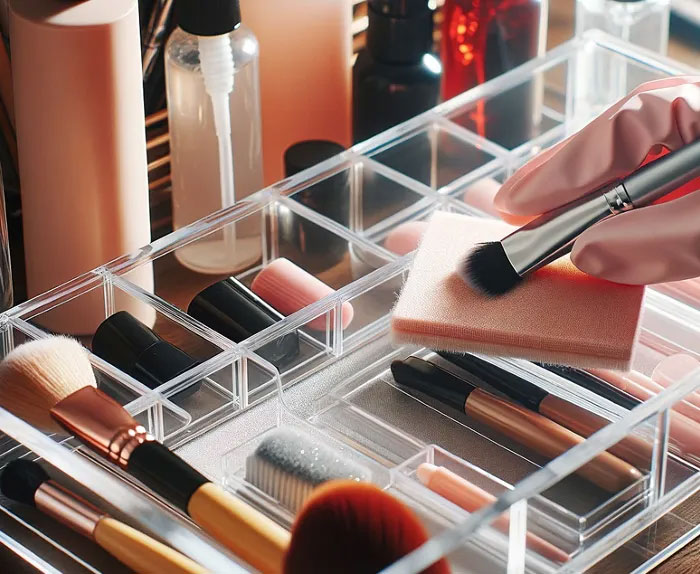
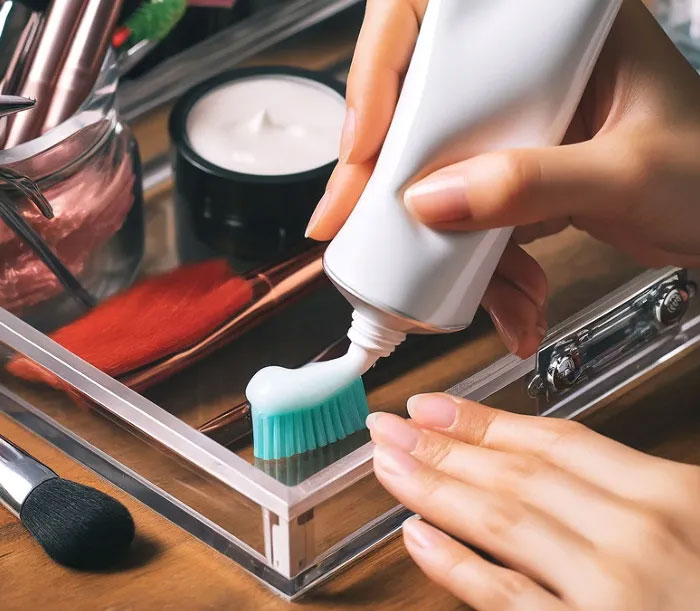
When cleaning an acrylic cosmetic organizer, focus on makeup-prone buildup areas: lipstick racks, brush compartments, and drawer edges. These spots often trap oils and pigments, easily getting dirty if neglected. Use your mild solution to clean these zones gently—their crevices hide residue, so thorough attention keeps the organizer fresh and clear.
Thorough Cleaning
Don’t settle for just wiping the surface—take the time to empty the organizer fully. This lets you access every nook and cranny, ensuring no hidden dirt lingers. Clearing out all items allows thorough cleaning of hard-to-reach spots that often trap grime. A complete emptying guarantees a deep clean, leaving no residue or dust tucked away in unseen corners.
Check Hidden Spots
Lift the acrylic organizer to clean its bottom, where dust and debris often gather unnoticed. Don’t overlook the corners and crevices—these tiny spaces frequently trap makeup particles. A quick check and gentle wipe in these areas ensure no hidden grime remains, keeping the entire organizer spotless, not just the visible surfaces.
How to Remove Acrylic Makeup Organizer Scratches
Minor scratches on acrylic makeup organizers can often be buffed out using a specialized acrylic scratch remover.
Apply a small amount to a soft, lint-free cloth and rub gently in circular motions—this helps blend the scratch into the surrounding surface without further damage.
Take care not to press too hard, as excessive force might create new marks.
Attempting to fix them without proper tools or expertise can worsen the damage, potentially ruining the acrylic’s smooth finish and clarity.
Always prioritize gentle methods to preserve the organizer’s integrity.
How to Clean a Makeup Organizer
Cleaning Makeup Organizer Step-by-Step
1. Empty the Organizer
Remove all cosmetics and set them aside. This step is crucial as it eliminates obstacles, allowing you to clean every inch without missing hidden dirt. By clearing out products, you also prevent them from getting wet or damaged during cleaning, ensuring a thorough and safe process for both the organizer and your cosmetics.
2. Dust First
Use a soft microfiber cloth to remove loose dust. Starting with dusting prevents rubbing dry particles into the acrylic surface, which could cause micro-scratches. The microfiber material is gentle and effective at trapping dust, leaving a clean base for the subsequent wet cleaning steps. It’s a simple yet vital prep to avoid unnecessary damage.
3. Prepare a Cleaning Solution
Mix warm water with a few drops of gentle dish soap. The warm water helps to dissolve oils and loosen grime, while the mild dish soap provides just enough cleansing power to break down residues without harsh chemicals. This combination is safe for acrylic, which is sensitive to abrasives or strong detergents, ensuring effective cleaning without surface damage.
4. Wipe the Surface
Dip the cloth in the solution, wring it out, and wipe the organizer gently. Wringing the cloth prevents excess water from pooling, which can leave streaks or seep into crevices. Gentle wiping with a damp (not soaking) cloth ensures you remove dirt without applying too much pressure, safeguarding the acrylic from scratches. Focus on all areas, including edges and compartments, for even cleaning.
5. Rinse
Use a clean, damp cloth to remove soap residue. Soap left on acrylic can attract more dust and cause a dull film over time. Rinsing with a cloth dampened in plain water lifts any remaining soap, ensuring the surface stays clear and streak-free. This step is key to maintaining the acrylic’s shine and preventing buildup that could harm its appearance.
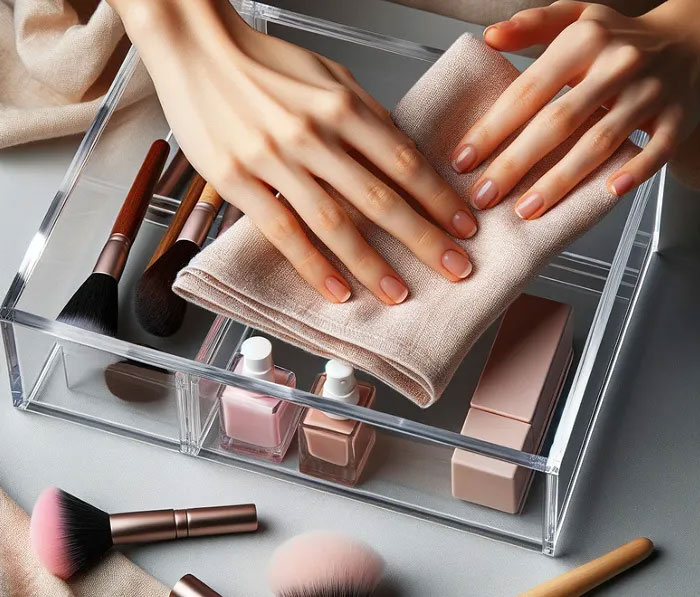
6. Dry Immediately
Pat dry with a soft towel to prevent water spots. Acrylic is prone to water marks if moisture dries naturally, as minerals in water can leave unsightly stains. Using a soft towel to gently pat dry removes excess moisture quickly, preserving the organizer’s smooth, clear finish. This final step ensures your cleaned organizer looks pristine and ready for use.
Maintaining Regularly
Consistency is key to keeping your acrylic makeup organizer in top shape. Regular cleaning prevents the gradual buildup of oils, makeup residues, and dust that can dull its surface over time. Aim to deep-clean it at least once a week using the gentle method outlined—this frequency stops grime from hardening into stubborn stains.
Additionally, a quick daily dusting with a microfiber cloth takes little time but works wonders. It removes surface particles before they settle, reducing the need for intensive scrubbing later. This simple routine preserves the acrylic’s clarity and shine, keeping your organizer looking fresh and functional long-term.
Top 9 Cleaning Tips
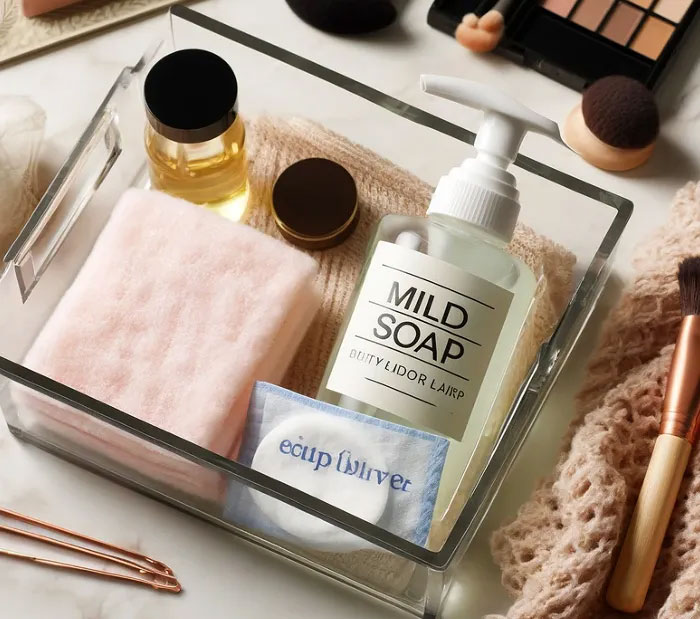
1. Use Mild Cleaners
Acrylic makeup organizers require gentle care due to their delicate material, so always opt for mild cleaners. A simple mix of mild soap and water is ideal—its gentle formula effectively lifts dirt without harsh chemicals that could cloud or scratch the acrylic. Avoid abrasive cleaners or strong detergents, as these can damage the surface. This mild solution ensures thorough cleaning while preserving the material’s clarity and smoothness.
2. Soft Microfiber Cloth
Always use a soft microfiber cloth, as rough materials can scratch the surface. Microfiber’s ultra-fine fibers trap dirt without abrasion, unlike paper towels or rough fabrics that may leave micro-scratches. This gentle texture ensures the acrylic remains smooth and clear, preserving its polished appearance through repeated cleanings.
3. Gentle Circular Motions
When cleaning, use gentle circular motions to avoid creating swirl marks. Circular movements distribute pressure evenly, preventing concentrated friction that could etch visible lines into the acrylic. This technique allows the cleaning solution to work effectively while minimizing contact stress, ensuring a streak-free finish. Avoid harsh back-and-forth rubbing, which risks leaving noticeable marks on the surface.
4. Regular Dusting Routine
Make dusting part of your daily routine to prevent buildup. Daily swipes with a microfiber cloth remove loose particles before they settle and bond to the acrylic. This simple habit reduces the need for heavy scrubbing later, as accumulated dust can harden over time and become harder to remove. Consistent dusting keeps the organizer looking fresh and reduces long-term wear from debris.
5. Avoid Harsh Chemicals
Steer clear of ammonia, bleach, and alcohol-based cleaners. These substances can break down acrylic’s surface, causing clouding, discoloration, or even cracks over time. The material’s chemical sensitivity makes mild soaps the only safe option—harsh agents react with acrylic, ruining its clarity and structural integrity.
6. Pat Dry Immediately
Don’t let water air dry on the surface, as this can leave spots. Minerals in water evaporate and deposit as visible stains, marring the acrylic’s shine. Patting dry with a soft towel immediately after cleaning removes moisture before it dries, ensuring a spotless finish. This quick step prevents the need for re-cleaning to remove unsightly water marks.
7. Air Dry Thoroughly
If needed, let the organizer air dry completely in a well-ventilated area before refilling. Ensuring no moisture remains prevents mold growth in hidden crevices and stops water from damaging cosmetics when replaced. A well-ventilated space speeds up drying, ensuring the organizer is fully ready for use without trapped moisture, causing long-term issues.
8. Store it in a Cool and Dry Place
Avoid placing it in direct sunlight or humid areas, as this can cause warping or discoloration. Sunlight’s UV rays degrade acrylic over time, leading to yellowing, while humidity encourages mold and weakens the material. A cool, dry environment preserves the organizer’s shape, clarity, and overall condition, extending its lifespan significantly.
9. Be Gentle with Handling
Always handle the organizer with clean hands to avoid transferring oils, and avoid dropping or knocking it against hard surfaces. Oils from hands attract dirt and can leave residues, while impacts may cause cracks or chips. Gentle handling—including careful movement and clean contact—prevents physical damage and keeps the acrylic looking its best for longer.
Maintaining Acrylic Quality
Regular Cleaning
As mentioned, regular cleaning acrylic makeup organizer is vital for preventing the buildup of oils, makeup residues, and dust that can degrade acrylic over time. These substances, if left unchecked, can etch into the surface, causing cloudiness or discoloration. Consistent cleaning—using the gentle methods outlined—removes such threats promptly, preserving the material’s integrity and keeping the organizer looking clear and new for longer.
Preventing Damage
To protect the acrylic surface, use coasters under bottles with leaky caps to catch spills, which can seep and cause stains. Additionally, avoid placing sharp objects directly on it, as they may scratch or puncture the material. These simple steps reduce direct harm, maintaining the organizer’s smooth, unblemished appearance.
Proper Maintenance
Enhance longevity by using an acrylic polish every few months. This acrylic makeup organizer not only restores the surface’s shine but also adds a protective layer that resists minor scratches and repels dust. A quick application keeps the acrylic looking vibrant and safeguards it from daily wear and tear, ensuring long-term durability.
Conclusion
A clean and well-maintained acrylic makeup organizer not only keeps your cosmetics organized but also enhances the overall look of your vanity.
By following the tips and techniques outlined in this guide, you can ensure that your organizer remains clear, shiny, and functional for years.
Remember to handle it with care, use gentle cleaning products, and establish a regular cleaning routine—your acrylic makeup organizer will thank you!
Acrylic Makeup Organizer: The Ultimate FAQ Guide

How Often To Clean An Acrylic Makeup Organizer?
Clean your acrylic makeup organizer at least once a week to prevent the buildup of oils, makeup residues, and dust. These substances can gradually degrade the acrylic, causing cloudiness or discoloration if left unchecked. For high-use areas like lipstick racks or brush compartments, a quick wipe-down every 2-3 days helps maintain freshness. Daily dusting with a microfiber cloth also reduces the need for deep cleaning, keeping the surface clear and preventing long-term damage. Consistency is key to preserving its clarity and lifespan.
Are You Able to Put an Acrylic Makeup Organizer in the Dishwasher?
No, you should not put an acrylic makeup organizer in the dishwasher. Dishwashers use high temperatures, harsh detergents, and strong water pressure—all of which can damage acrylic. The heat can warp the material, while chemicals may cause cloudiness or discoloration. Additionally, the force of water jets might scratch or crack the organizer. Hand cleaning with mild soapy water remains the safest and most effective method.
How Can I Get Scratches off from My Acrylic Makeup Organizer?
For minor scratches on an acrylic makeup organizer, use a specialized acrylic scratch remover. Apply a small amount to a soft cloth and rub gently in circular motions to buff out the mark. For deeper scratches, start with a fine-grit sandpaper (wet) to smooth the area, then follow with scratch remover. Avoid harsh abrasives or excessive pressure, as these can worsen damage. If scratches are severe, consult a professional to prevent further harm to the acrylic’s surface.
How Do You Make Your Acrylic Makeup Organizer Last Longer?
To extend your acrylic makeup organizer’s lifespan, prioritize regular, gentle cleaning to prevent residue buildup. Use coasters under leaky bottles and avoid placing sharp objects on the surface to prevent scratches or stains. Apply acrylic polish every few months to restore shine and add a protective layer. Store it in a cool, dry place away from direct sunlight to avoid warping or yellowing. Handle with care—avoid impacts and clean hands—to minimize physical damage and maintain its condition.
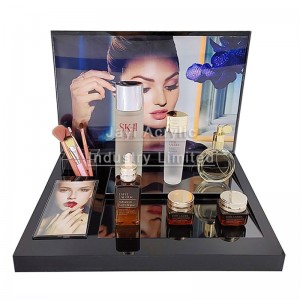
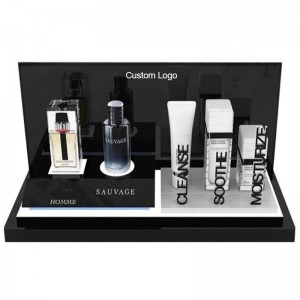
Jayiacrylic: Your Leading China Custom Acrylic Makeup Organizer Manufacturer and Supplier
Jayi acrylic is a professional acrylic makeup organizer manufacturer in China. Jayi’s acrylic makeup organizer solutions are crafted to enthrall customers and present cosmetics in the most alluring way. Our factory holds ISO9001 and SEDEX certifications, guaranteeing top-notch quality and ethical manufacturing practices. With more than 20 years of experience partnering with leading beauty brands, we fully grasp the significance of designing functional organizers that enhance cosmetic visibility and elevate daily beauty routines.

If You Are in Business,You May Like:

Post time: Jul-15-2025